This option is only available for Business subscribers. To be able to use it, make sure that your server meets the following conditions.
Windows Server Edition (2003 or higher), with the minimum roles and features installed and configured.
| Roles | Features |
|---|---|
| Active Directory Domain Services | Group Policy Management |
| DNS Server | Remote Server Administration Tools |
| .NET Framework 3.5.1 Features |
Let’s start!
1. Sign in to your Polarbackup online account → Go to the Users/Servers page → Click the AD Deployment button → Download the PolarBackup_setup.msi file and the Deployment templates (EXE). Make sure that the downloaded PolarBackupSetup.msi is stored on a shared location that all your domain users have read permission on it.
2. Run the downloaded Polarbackup ADM setup, and from the window that will appear, select Deploy User’s Policy or Deploy Machine’s Policy. To understand more about their differences, please follow this link. In this example, we will use Deploy Machine’s Policy. Once finished, a Polarbackup ADM file will be added under the C:\Windows\INF directory.
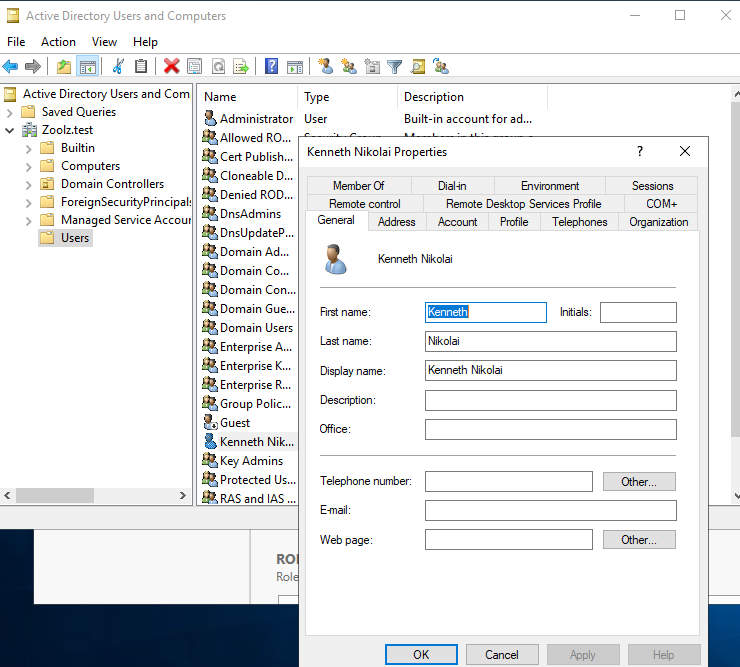
3. On your server, open the Active Directory Users and Computers. Refer to your domain. Under Users, make sure that all the users on your domain that you want to set Polarbackup for, are added there. Also, make sure that each user there has an email added for him/her. By double-clicking on the user’s name (If the email field was blank, Polarbackup will auto-fill based on username@domain).
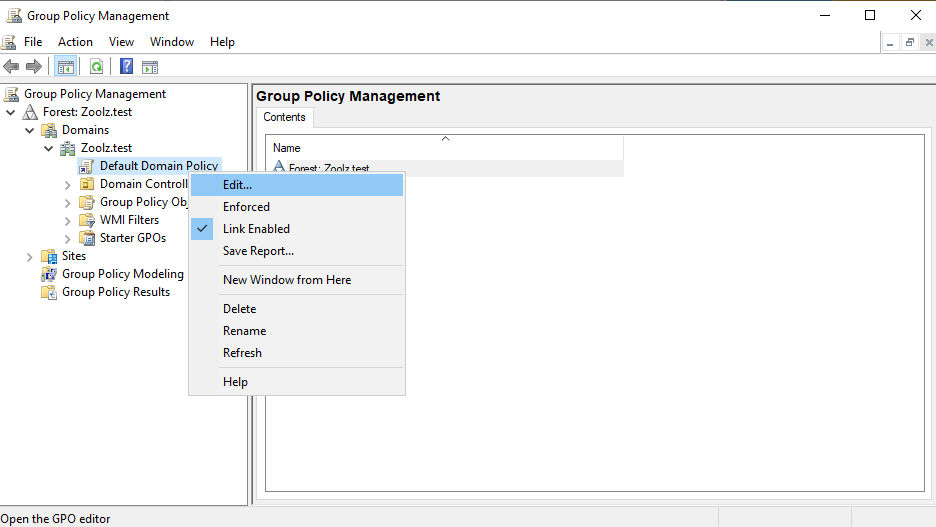
4. After that, open the Group Policy Management → Expand the Domains tree → Right-click the Default Domain Policy → Edit.
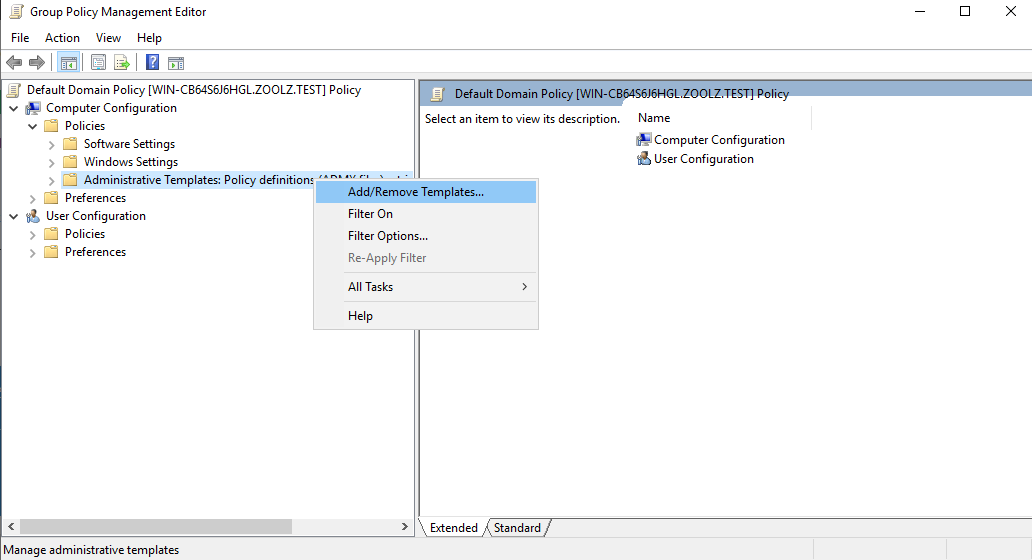
5. In the Group Policy Management Editor window, go to Computer Configuration → Policies→ Right-click Administrative Templates → Add/Remote Templates.
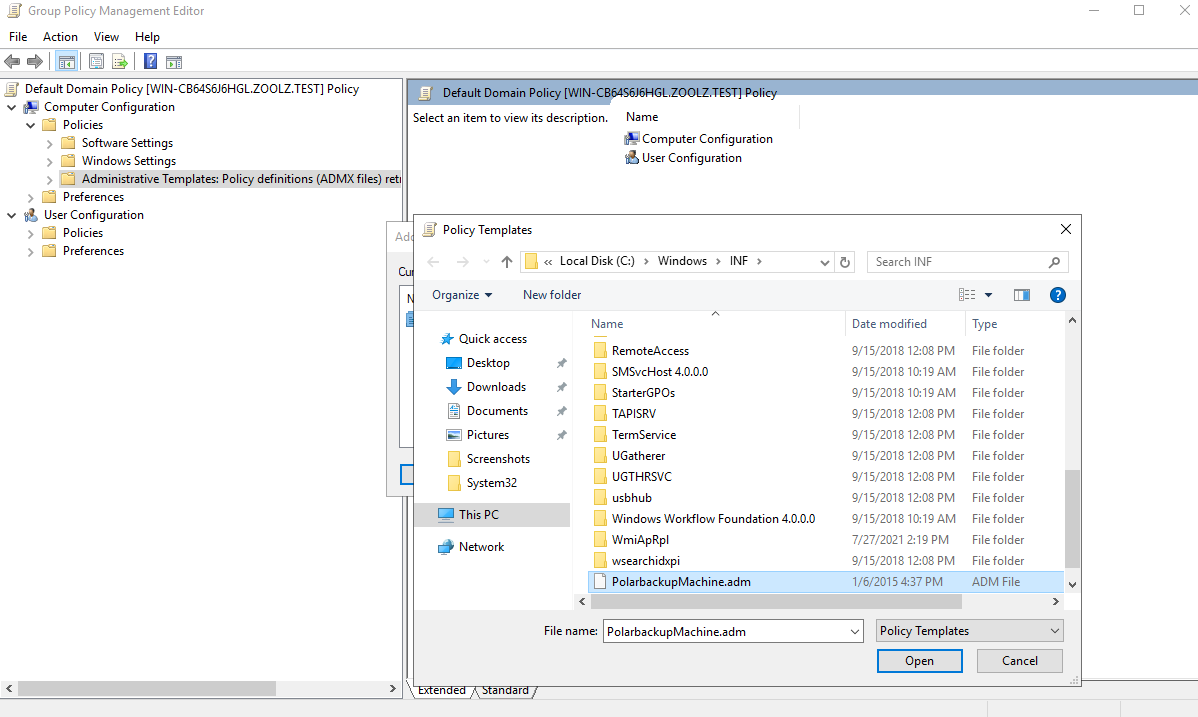
6. In the new dialog, press Add, and select Polarbackup ADM file from under C:\Windows\INF, then press Open.
7. Now, you should see an entry in the Group Policy under Administrative Template called Classic Administrative Template (ADM). If you are using Windows 2003, you will not see this entry, instead, you should see CloudBackup entry directly underneath Administrative Templates. However, since we are using Windows 2019, we will need to double-click the Classic Administrative Template → Cloud Backup → Double-click Backup Settings on the right column for editing, or right-click it and select the Edit option.
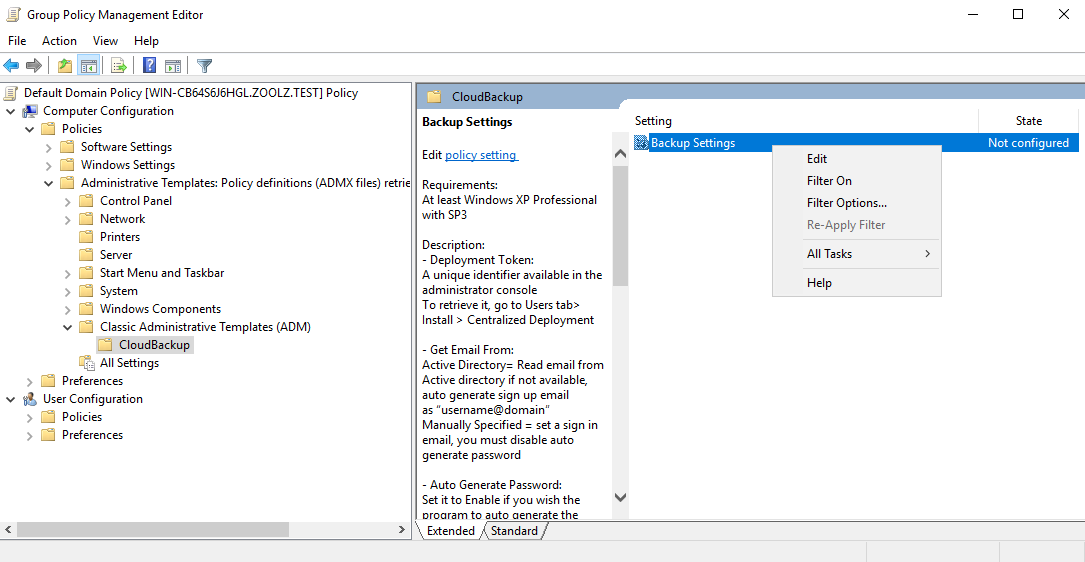
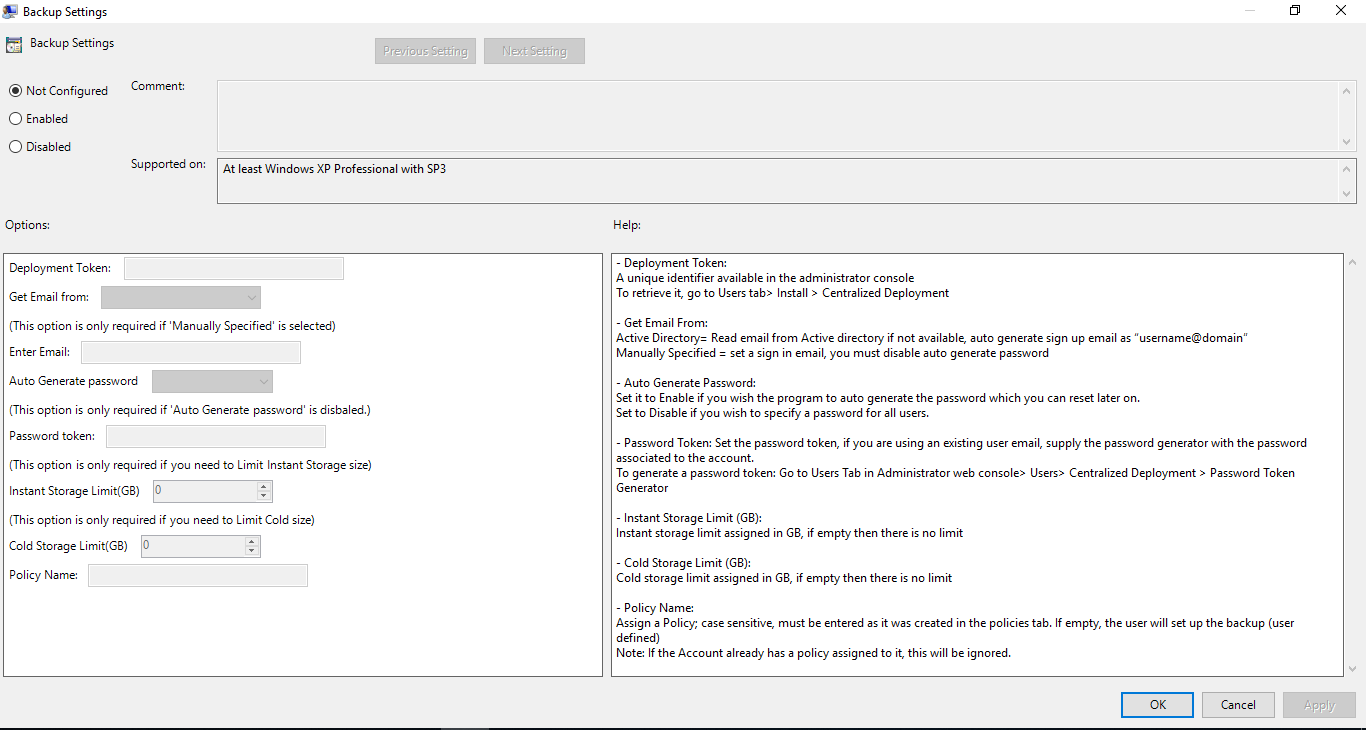
8. From the Backup Settings window that will appear, select the Enabled option. After that, copy the Deployment Token from the web (as appear in step #8 below) and fill in the Deployment Token Filed in the Backup Settings. Fill in all the information in this window (learn more). Once you finish, click Apply and then OK.
9. Now, the second part is pushing the MSI installer to the domain users. To do that, open the Group Policy Management → Expand the Domains tree → Right-click the Default Domain Policy → Edit.
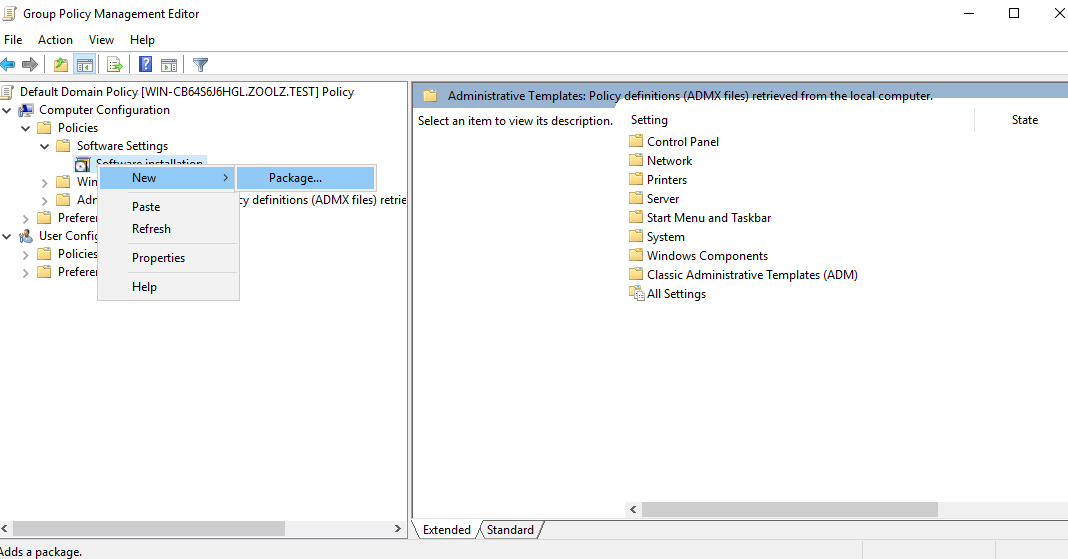
10. From the Group Policy Management Editor window, go to Computer Configuration → Policies → Software Settings → Software installations → Right-click New → Package.
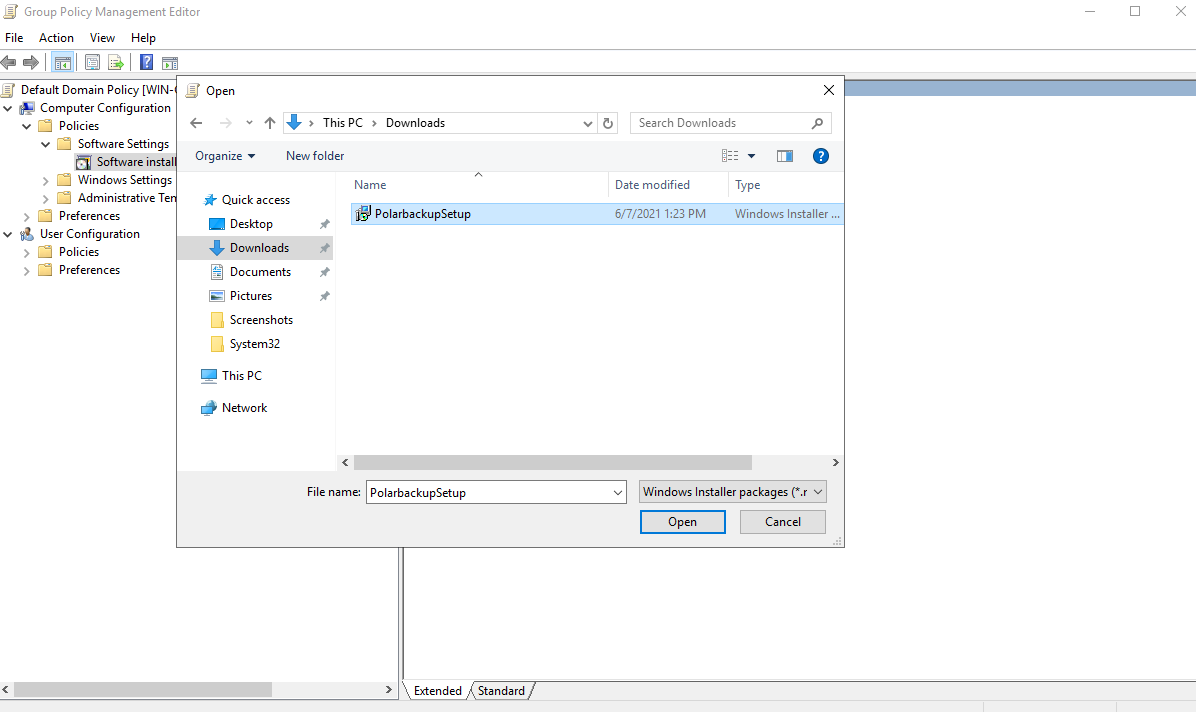
11. Browse to the location of the thePolarBackupSetup.msi, select it and press Open and press Assigned as default in the next dialog.
12. This .msi installation will be pushed to all users on your domain, along with Polarbackup settings.